Faking a CRT Display
Previous: Reducing Emulated Temporal Aliasing
Once we have whatever RGB image we want, it's time to make it appear approximately as if it were displayed on a CRT TV.
[Author's Note: This part of the process is a little less scientific than the NTSC section. I've had limited (though not zero) access to a CRT, and while I've done my best to be accurate, some of this is more based on vibes than a physical model of some kind.]
The CRT Mask
Every color CRT has some sort of mask to direct the electron beams from each of the R, G, and B electron guns to the correct phospors, either a shadow or slot mask or an aperture grille.
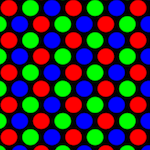
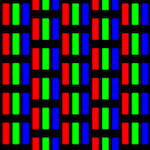
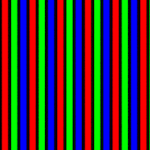
The first thing that the CRT emulation layer does is generate (or load) a texture that models the desired mask type. For consistency, each of these textures is a 2:1 rectangle containing a single vertical repeat of the pattern (and one or two horizontal repeats, depending on the mask).
It is important that the mipmaps for this texture are generated nicely, since the actual display of these textures tends to be small (especially at lower resolutions). Cathode Retro by default uses a Lanczos2 downsample to try to keep the right balance of sharpness vs. aliasing.
Before we can talk about rendering this mask over the image, we first need to talk about screen curvature.
Screen Curvature
Most CRT screens were curved, usually both horizontally and vertically but for some (like Trinitron screens) there was just horizontal curvature. To emulate this, Cathode Retro effectively casts a rectangle of rays against a sphere, where the width and height of the rectangle affects how much curvature the screen has (a narrower rectangle means a smaller slice of the sphere is used and the effective curvature is lower, and a wider rectangle means more curvature).
Some examples, from left to right: The "standard" curvature setting, the "Trin CRT" curvature setting, and an extreme curvature setting:
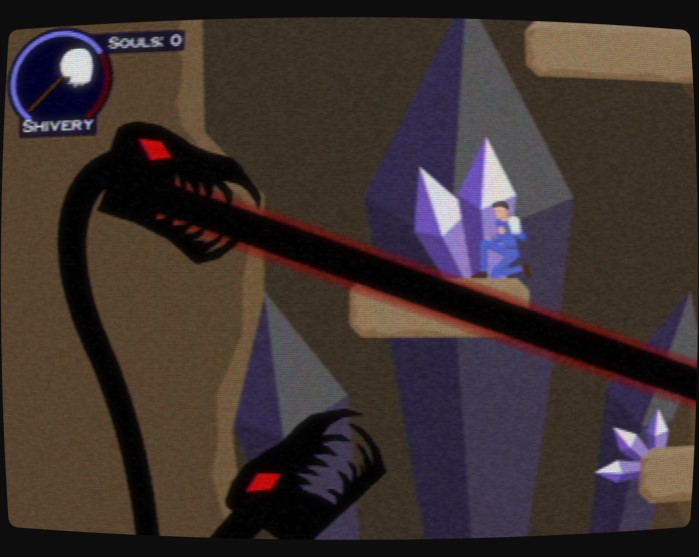
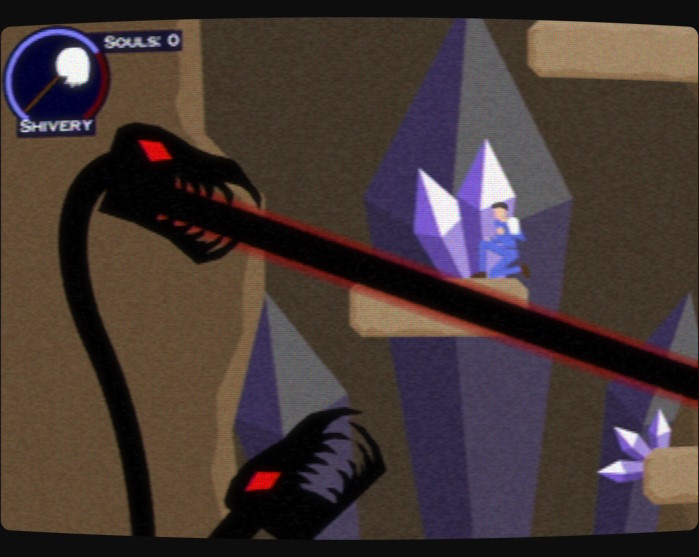

The image and the CRT mask both need to be properly distorted to build the illusion of the screen curvature, which means we have to be careful about moiré patterns.
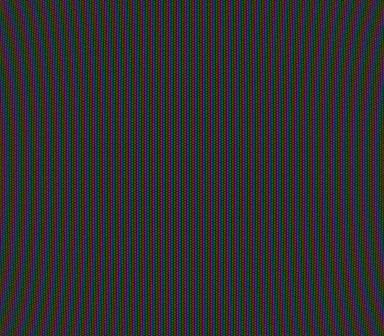
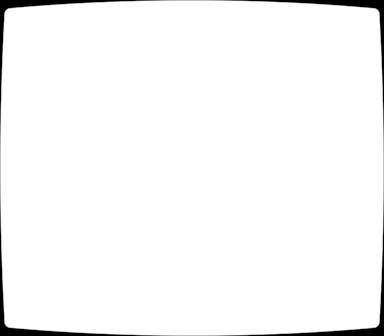
In our case, we chose to introduce a bit of noise by using a 64-tap Poisson disk, in order to keep as much sharpness of pattern as possible. It's not perfect, but generally when there's an image on-screen the moiré is unnoticeable. Ultimately, we generate a texture that contains a tiling of the CRT mask (left, below, may need to zoom in) as well as the alpha mask of the edges of the screen (right, below).
Scanlines
An individual field of video (one half of an interlaced frame, or a single ~60Hz fake progressive frame) only draws half of the screen's scanlines, which means there are gaps between them. To render these, the shader uses a sine wave that oscillates between 1 and 0, which is not entirely accurate but it looks good. Additionally, it does some numeric integration of this sine wave to help reduce even more moiré patterning caused by the scanline (expanding the size of the integration interval for smaller resolutions to reduce moiré further.
Here's a close-up of the scanlines on a white screen:
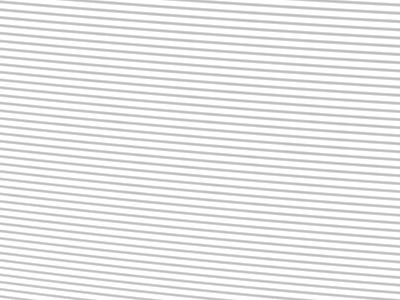
The scanline gap positions (and, thus, the positioning of each visible scanline) changes based on whether this is an "even" or "odd" frame, to allow interlacing to work.
Diffusion
One more major (but subtle) component of the technique: diffusion! This emulates the way that the photons coming from the glowing CRT phosphors bounce around in the (imperfect) glass on the front of the screen on their way out of the TV. It's mostly visible with bright things on a dark screen.
Here's a close-up with diffusion disabled:

Now here's a close-up with diffusion enabled (at its default amount):

Finally, here's one with diffusion turned up quite high to make it very obvious:

This is basically a bloom effect, where the RGB image itself is tone-mapped, scaled down and blurred:
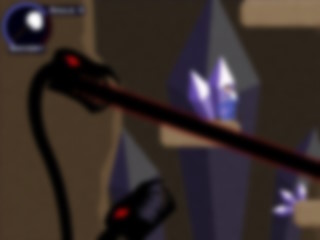
This is then blended with the output during final assembly.
Final Assembly
Putting the whole thing together basically requires sampling both the current frame as well as the previous frame (which is blended in based on the amount of phosphor persistence there is, which is the amount of previous frame influence on the current frame), blending them together, blending in the CRT mask (and darkening the borders where there's no screen), then adding the diffusion on top:
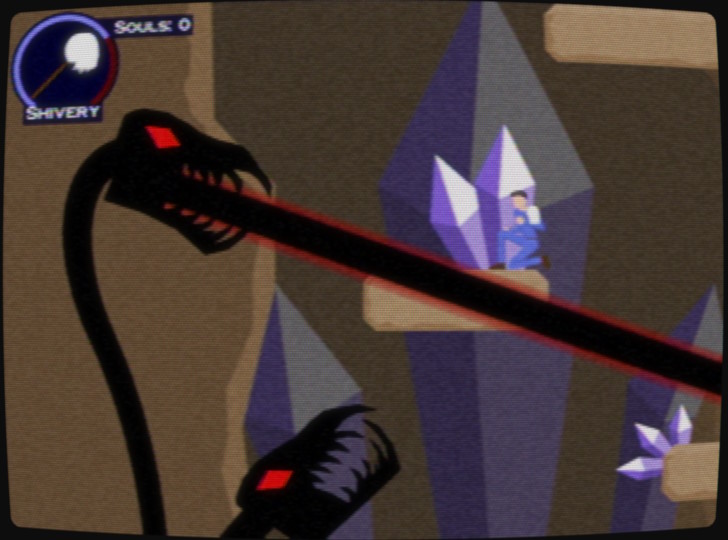
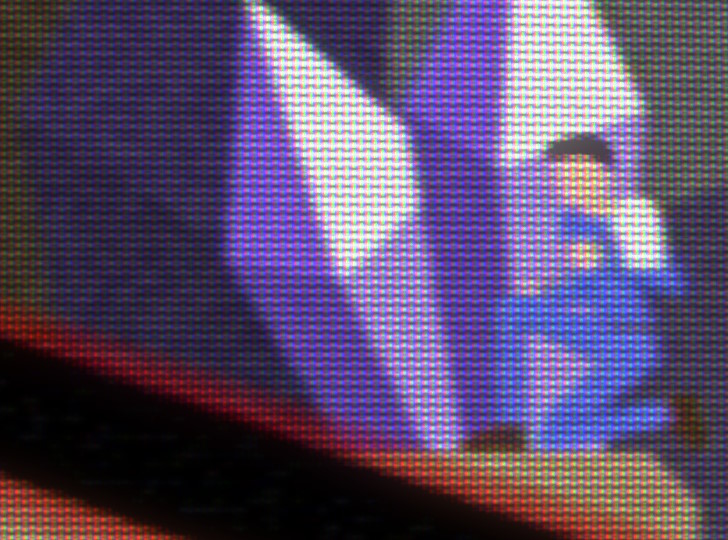
Now we have a fully emulated CRT image!
For more information on the specifics of how the shaders are set up for this step, check out the CRT Emulation Shaders page.